Practical carpentry and cabinet
making under Australian conditions.
for the practical woodworking amateur
by Ralph Klimek
June 2007
by Ralph Klimek
June 2007
copyright: this article is copyleft. you are free to do with it as you wish, no rights are reserved
Abstract: Some practical advice about wordworking for hobbyists under Australian conditions. The article contains the authors observations and experiences and write ups for significant projects. How to apply a piano grade finish using only home garage technology
Introduction:
In Australia it is possible to purchase a general purpose carpentry machine called the Triton Workcentre. I purchased some twenty years ago one of the very early models of this device after watching the promotional video in the local hardware, I was transfixed by the video which was showing of all the very cool things that you could do with nothing more than a circular saw and a Triton Work Centre.
Prior to the invention and marketing of the Triton practical carpentry for the home handy personage was dictated by how friendly your lumber yardsman was. He certainly never suffered fools, only talked to the tradies, and unless you knew the trade jargon your friendly lumberman wasnt very friendly and didnt even want your money. When you wanted timber milled to some particular shape for a project you had to search and weadle your way around the yard. They didnt like handymen or hobbyists, they didnt buy "house lots" , and didnt know what they were talking about. No money to made here. I used to watch lovely second hand timber get cut up for firewood because "you cant use secondhand wood for furniture or whatever because...yada yada ." Made me very sad.
I watched the Triton promotional video, awestruck, as we saw, weathered, rough sawn timber being dressed and milled to your precise specification...right in your workshop. But better than that, it was now possible to make repetitive machine cuts that were identical and were always true, in even the most hardened of secondhand hard woods. Tungsten Carbide has presented itself as a miracle in the woodworking scene. I learned to handle wood with classical steel tools, my cuts were never true, and repetitive cuts were never identical. My poor efforts would never has been presentable as display furniture, perhaps only adaquate for workshop shelves. With classical tools, planes, chisels, saws the only timber that is useable is softwoods and nearly green hardwood. With Tungsten Carbide the most intractable secondhand hardwood timber can be formed exactly how you want it as one machines metal. Even Red Gum which real chippies consider only fit for firewood can be made to render beautifull and indestructable objects.
As I have learned it takes years , many long years, to learn how to handle a hand wood saw with any degree of competance, I now can actually make a true cut, it only took me forty years to learn how! It is a skill well worth learning because your Triton is never where the job is!
I purchased a Triton a maybe only a few months later I had recouped its cost in money and time saved by not visiting lumber yards and completed furniture grade projects. The one thing that still appeals to me is to see a smashed packing crate on the road somewhere, I used to see junk, now I see good raw material just waiting to be milled !
Practical furniture biulding should start with something you actually need, that way you will be inspired or rather compelled to finish it! She-who-must-be-obeyed most often will dictate to you what it needed and she is impressed by the things you can do for her...for a while, at least.
Tools
The practical home wood workshop is this day and age must be a slave to time, we dont have time to cobble away with classical tools, practical projects done by people with only hobbyist skills must be completeable by next month, otherwise they are non-projects. Purchase labour saving and time saving power tools, at todays prices you have no excuse not to have a Triton, circular saw, power plane, router and belt sander. Other tools you will find to be required will be some good chisels. Dont even bother looking at cheap made in China chisels. They cannot cut warm butter without resharpening. A good chisel costs A$30 minimum and is so sharp that the wood wants to carve itself. You will need a rubber mallet so you dont put dings into wood when you are knocking things together. A doweling jig will give you professional dowels at very modest cost. You might still like to have a classical wood plane, they are not cheap, but with practice you can create a better finish in wood than a power plane or belt sander can do. A good hand plane costs about the same as a power plane.
Joints in furniture timber.
All wood to wood joints, no matter how you bind them with fasteners should always be glued with PVA wood glue. Poly Vinyl Alcohol glue reacts chemically with the cellulose in wood and forms a true chemical bond that is permanent. A well constructed joint that is glued has a solid feel to it. Use a marine resorcinol glue if the bond is subject to prolonged moisture, like in bathroom furniture. Never use nails for permanent work, they always work loose, only use them for temporary false work or temporary bracing and put them where the nail holes remain invisible in the final project assembly. Allways drill and use wood screws. I have found that plaster board screws are the ideal wood screw, they dont need a tapered wood bit, are forgiving of small errors, are cheap, strong, and can be inserted with a power drill. If you have made a mistake you just unscrew, if you have nailed you must bash your work to bits. The screw heads can be completely hidden with a plug of wood cut with a plug cutter ( they are cheap ) and with a bit of care the screw holes can be made invisible. Brass screws should be used where there is risk of moisture exposure and where you may be required to disassemble your work some years down the track. Brass will not bind to wood unlike steel. You will need to use more brass screws than steel because brass lacks the tensile strength of steel and you will have to take this into account. Let common sense be your guide.
The best thing about drilling and screwing compared with nails is that when you have carefully lined up your work pieces, they stay aligned. When you bash a nail in the force will always mess up the alignment of the work and result in a joint that isnt true.
Real chippies can do this and get it right, all the time, but I and presumeably you, cannot.
Secondhand timber.
The reason that the real chippies reject secondhand hardwood out of hand is because it is intractable with classical hand tools. Cutting it is hard, nailing it is impossible, chiselling it just wears out the chisel, planning it is allmost impossible...and worse, much worse either has contained nails or actually contains a nail to put a ding in your precious tool! Well, whats good about secondhand timber. It is extremely hard which means it has dimentional stability. It is seasoned, it has been part of a wall or chook shed for only the Lord knows how long. It is cheap, and sadly these days is a piece of what is now probably rare or just unobtainable timber. Old hardwood will take a mirror quality finish , in fact a "piano" grade polish without effort if you plane it. It is also immenseley strong and rigid which is, surely, a desirable attribute for your project. "Real furniture biulders never use secondhand timber". It is my quest to expose this traditional attitude for the load of bollucks that it is.
It is certainly true that it can contain a nasty surprise like a nail or embedded stone that escaped your attention. Tungsten Carbide does not care a jot about nails. I once accidently sawed through a 6 inch nail that had been embedded in some old lump. I noticed a few sparks and felt the saw struggling a bit. I persisted in cutting, and when the wood seperated I saw two 6 inch nail halves. I had sawn down the nail the long way. My saw ! ( I wailed ). On examination just one of the TC teeth had a small ding in it. The Vermont American company will sell you a TCT saw blade that is DESIGNED to cut through nails! A nail will still put a ding in a TC power plane so still be carefull. Never nail secondhand timber, its too hard and you will just split the wood. Drill and screw. Hand Plane it it you dare, if you value the edge on your plane use a belt sander, they dont care about nails and carefull belt sanding gives allmost as good a result as planning. The Triton® random orbital sander is not to be overlooked.
Routers.
I mainly use my small router to put decorative edges on timber. Allways put a decorative edge on your work, it makes it look classy. A very complete set of TCT router knives costs less than $100 that will give adequate life and performance for the hobbyist. Never use a cheap made in China TCT router bit for commercial service, they just are not that well made. They are fine for hobbyist use. The large half inch routers scare me, I dont have one, and I cannot concieve of me wielding one free hand. Use a small rounding over bit when your project is allmost complete to break all exposed sharp edges. A small router also permits you to engage in decorative wood surface carving which is now a lost art. (see my tree trunk coffee table) Use an edge trimmer bit when things must be flush. Cut a little bit oversize and then use the trimmer bit to make the joint PERFECT. These edge trimmer bits were meant for laminate but they are much more usefull than that.
Circular saws.
Buy a 10 inch or 9 1/4 inch saw for your Triton, the smaller 7 inch is not satisfactory. Dont scrimp on this. A good quality saw has a firm sole plate and no longitudinal slop on the saw axle. This means you get a true furniture grade cut. I dislike having to weild this large saw freehand, its heavy and exceedingly dangerous. A freehand circular saw is usefull for rough cutting large panels or planks and a 7 inch saw is light and relativley safe to use in inexperienced hands.
For the Triton, lash out and buy a 60 tooth saw blade, they cost a bit more but produce a beautifull allmost polished cut. The harder the wood the better! After a lot of work with old timber the grit, the whoops, sorry saw...nails and some timbers have embedded silica, even the remarkable TCT teeth become dulled. They can be resharpened with a diamond hone available from Bunnings® (if you can find this small object) or from gun shops where they are sold to fishermen to sharpen their hooks. Do not believe the silly old codgers that tell you TC cannot be resharped. A Diamond hone will even put an edge on a worn out masonry drill bit ! Its true ,though, dont sharpen TC on a whetstone because TC is harder than whetstone material!
Power Planer.
Buy the widest one on offer consistent with your budget. They all have tungsten carbide blades now, buy a spare set of blades because one day you will hit a nail or embedded sand grain. Replacement blades are not expensive. They give a near perfect finish on wood that is smaller than the width of the blade. It is nearly impossible to plane a wide board without cutting unsightly ridges, I havent found a way to do it yet. That is why I still finish wide boards with a hand plane in the case of softer woods, old hardened hardwood is nearly impossible to hand plane, finish it with a belt sander always along the grain. I believe the problem with the power planner is that the blade is perfectly straight. If the blade was curved at the edges it should be possible to place a wide board without cutting ridges. The ridges result from the fact that the human skeleton cannot produce perfect linear motion, this results in irregular downward forces on the plane that tend to skew it. I think the Triton range now includes an arrangement for power planes that reduces the scope of this problem, sort of like a poor mans thicknesser. At some point in the future I will try to modify some TC planer blades to give them a rounded over edge profile to minimise the ridge cutting effect on wide boards. I will let you know how it goes.
Hand tools.
You still need some classical hand tools. Chisels still are required for finishing a mortice and for decorative carving. A hand plane is still required for truing an edge or removing the splintery edge on a freshly made rip cut. A chisel needs a bench grinder and needs it often. You need a drill for holes and a battery powered drill for putting in wood screws. You cannot have too many G Clamps I have ten of them and its not enough. A glued joint must be clamped for 24 hours or so either with clamps or fasteners. Use a G clamp, they exert far more force than can be provided by wood screws. A sash cramp is really good for large projects. A hand saw is still needed for rough cutting and quick and dirty cuts when its too much trouble to run the power saw and when you are in the roof! You need a ruler, a meter stick is the most usefull size. A rubber mallet is required when pushing a mortice and tenon together or mating dowelled workpieces. Dont spoil your nice work by dinging it with a steel hammer. You must have a tri-square for accurate marking and for checking if your cut is true. Did I mention a hammer? No, only use hammers for demolition and removing nails in secondhand timber.
Hand Saws.
Still needed , even in this day and age. I like to buy my handsaws from flea markets because the old brown wooden handled traditional hand saw was made by people, usually in Birmingham England, that actually understood steel and how to laminate and temper it so that the blade had the right amount of rigidity and flexibility. The modern cheap hand saw is a pain to use because the blade is not rigid enough, or cannot keep an edge or just wont cut. Do not buy a so called hard point saw and expect to keep it long. They have a superior edge of case hardened steel. They work for a while and cannot be resharpened because you only remove the tempered steel edge. However, they may be a good buy but you must consider them to be a consumeable item. learn how to sharpen your saw blade, either with a traditional saw file or rather, I use a Dremel with a mounted stone. Using a Dremel, you can sharpen you oldest saw blade in a few minutes and put an edge on it, like that can only be given by an old, gnarled and grumpy saw doctor from ages past.
Hand Plane.
Still needed even in this day and age. A good hand plane costs more than a power plane which is crazy, but then most of life is beyond the rational as you well know. In Australia the Stanley Plane seems to be one of the few still available, the longer the plane the better, if you have a monster get a smaller block plane for small jobs. You have simply superior control with a hand plane and it wont chomp your finger off either. A hand plane still only comes with a hardened tool steel blade which will need constant sharpening. Get a sharpening guide and whetstone, dont try it freehand, unless you try long and hard you will be dissappointed with your freehand edge. Wash the whetstone with kerosene, a clogged whetstone cannot sharpen. A hand plane requires a lot of practice to do a board nicely, thats the problem with classical tools. It is also hard work. Traditionalists still insist on a wooden plane, you can still buy them, but I say dont waste your time. It is true, a wooden plane may give superior results but only in the hands of a master craftsman which we most certainly are not.
Drills and holes.
I dont think nails have a place in furniture, so if you drill and screw you need a drill. Get a drill press, cheapies and nasties that are adequate for hobbyist use are on special for $50. The bigger the better, let your budget be your guide. A hand held drill is essential, a half inch chuck is mandatory! Wood is an irregular material, there are harder bits and softer bits. That means that the hole that you are trying to drill will wander, this is tragic if you are drilling doweling holes, your dowells wont line up. Allways drill a pilot hole, a 1/8 drill is about the maximum size for a pilot hole and you can get extended length drills too. A hand held drill never gives a hole that is "true" ; that is perpendicular to the work. This can cause problems in alignment when the work pieces are bonded. Allways use the bench drill if possible, if not make a drilling guide by drilling through a block of waste wood with a bench drill so you know the hole is true. clamp the guide to the work and drill your pilot hole or final hole through the guide hole . It will be very close to perpendicular if you do it this way.
Cutting larger holes is a problem. Spade bits are availble up to 30mm. If you can afford it get some good quality Sutton hole saws, otherwise the cheap and nasty hole saws are effective in softwoods, chipboards and plywoods. Cutting with hole saws takes some practice, always periodically withdraw the blade to unclog the cut in progress. Drill a pilot hole and also drill a hole through which the blade will pass. This extra hole will allow the blade to unclog while you cut.
Never waste your money on cheap spade bit sets from China. They are poorly made from mild steel, they are toys, not tools and dangerous too. Butter is the only thing they can cut. Buy good branded spade bits, you wont regret it.
For drilling doweling holes it is possible to get special doweling bits, I have tried them with good results. They have two extra cutting flutes on the outer circumference and this minimizes the tendency of the bit to wonder about while cutting.
Polishing wood.
Here
is how to put a piano quality finish on your timber project.You need, an airless sprayer like a Wagner which are the best of the hobbyist kind. You need grain filler compound. You need fine grit alumina sandpaper. The rubbish from the two buck shonky shop wont do, its glass grit and the grit is poorly bonded with only starch paste. Good quality sandpaper is worth its weight in money. You need a Tak Rag, these are made from lintless cheese cloth and impregnated with beeswax. You need a belt sander to finish the work and a high speed orbital sander (with dust extractor) for finishing. Your enemy is dust and this method is designed to cope with the reality that real workshops are not dustless and finishing wood is a very dusty business.
Finish your work with the belt sander's finest grit belt until you are satisfied with the smooth finish. Vacuum of all dust with a vacuum brush attachment. This fine dust is very adhesive, it must be brushed off. Now apply end grain filler. This compound is made from fine clay. Its purpose is to fill the minute holes and pores that is wood. It is particularly good for fining up end grain. Use it very sparingly. Apply it with a course hessian cloth and remove it immediately with towelling. Let it dry and harden overnight. Then with increasing finer grit paper use a high speed orbital sander to give it the final smoothing finish. Again remove all dust with a vacuum brush. Then use the Tak Rag, wipe the surface, this will pick up the last dust particles.
Apply the first varnish coat. I use poly urethane. It is cheap, very durable, very easy to apply and dries completely in twenty four hours. Use the spray gun, never use paint brushes. Large horizontal surfaces should be slightly tilted so that puddles dont form and vertical surfaces must be lightly sprayed so drips dont occur. The purpose of the first coat is to fix and immobilize dust and attached wood fibres that point upwards from the surface. Let this coat completely harden. Now very gently sand this coat by hand with the finest alumina sandpaper. This serves only to seal the surface and reduce the small air bubbles that came from the pores in the wood, eliminate the small bumps that the residual surface dust caused and to shave off the tiny wood fibres that now point vertically. Clean this polished surface with the Tak Rag. Now apply the finishing coat of varnish. It generally is not required to put on extra coats, only do this if you are expecting heavy wear, like a kitchen table. Every other coat should be very lightly sanded , again to remove the inevitable dust grain that has fallen onto the wet varnish. Apply the last coat and admire your work forty eight hours later. The older coats must be hard before a new coat is applied otherwise unsightly blistering will occur and if that happens you must go back to the bare wood to remediate it. Follow this method and I warrant you that you get a show room floor result. Do not place your work directly under a light. This is very practicle advice. There is allways some wretched insect that gets attracted to the light and then lands in the middle of your hardening varnish. That is a show stopper.
Looking after your airless spray gun.
As marvellous as these things are , they are very fiddly. The varnish must be thinned to the right viscosity or it wont atomise properly, instead of a mist it behaves like a water pistol. It must be scrupleously cleaned after each use or it will clog up. The secret to maintaining your airless spray gun between coats is kerosene. When you have finished a coat remove surplus varnish and immediately spray out a glass of kerosene. Leave kerosene in the reservoir and leave it. The kerosene will not dry out and will prevent residual paint or varnish from hardening in the sprayers conduits and pump. The residual kerosene is compatible with most oil paints and polyurethane. Before use, blow out the Kero from the gun with whatever you are thinning your varnish with. Let it run with varnish for a few seconds to establish a pure flow. Then paint your work. Dont hover above your work, the gun will drip ! Inverted Horizontal surfaces will form drip icicles, as they form wipe up them with a solvent soaked cloth.
When the project is complete clean the gun and leave some kerosene in the gun and its reservoir. never let a used airless gun dry out, paint and varnish traces in the pump will harden and jam it.
Never clean it with shellite or methylated spirits, these will attack and destroy O rings and other seals.
Never put acrylic paints in your airless spray gun. You can never properly clean it out and the filler and some pigment material in these paints are abrasive and will destroy the pump. There is a compound you can add to arcylic paint to render it more tractable for spraying, I havent tried it as I still beleive that enamel or polyuerthane is the proper finish for furniture, however thats only my opinion, other people have had good results spraying acrylic.
Some wood projects of mine.
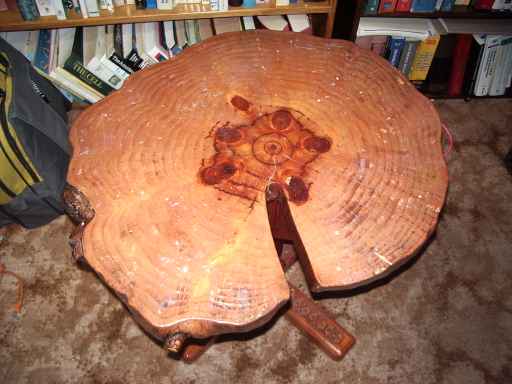 | 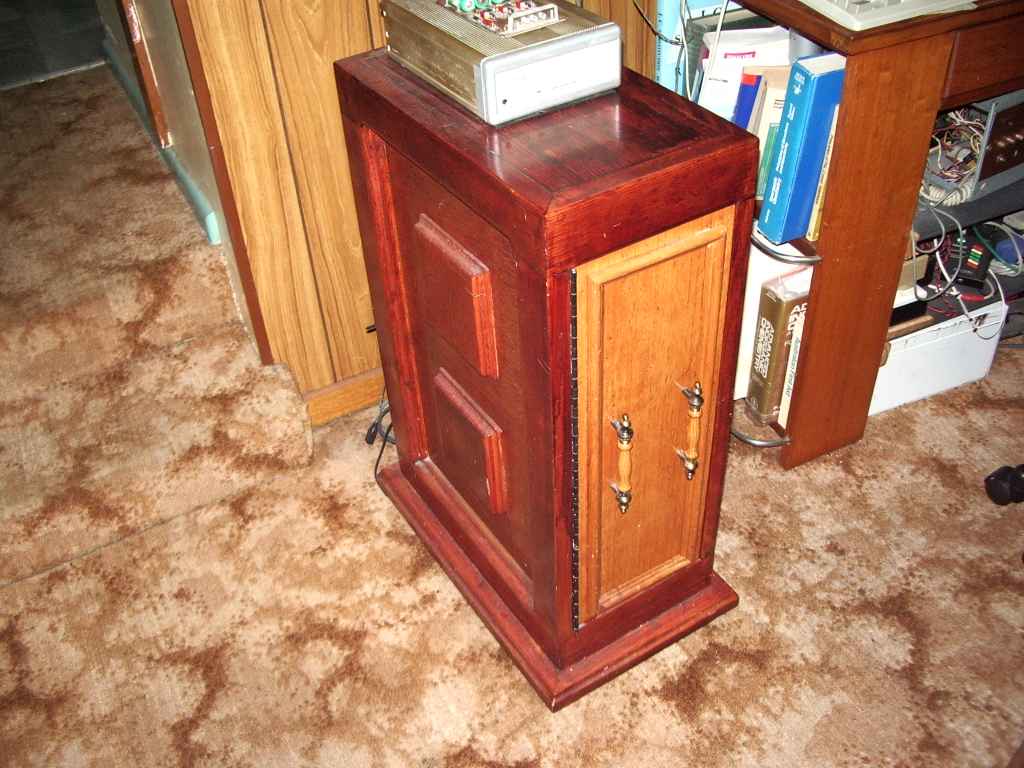 | 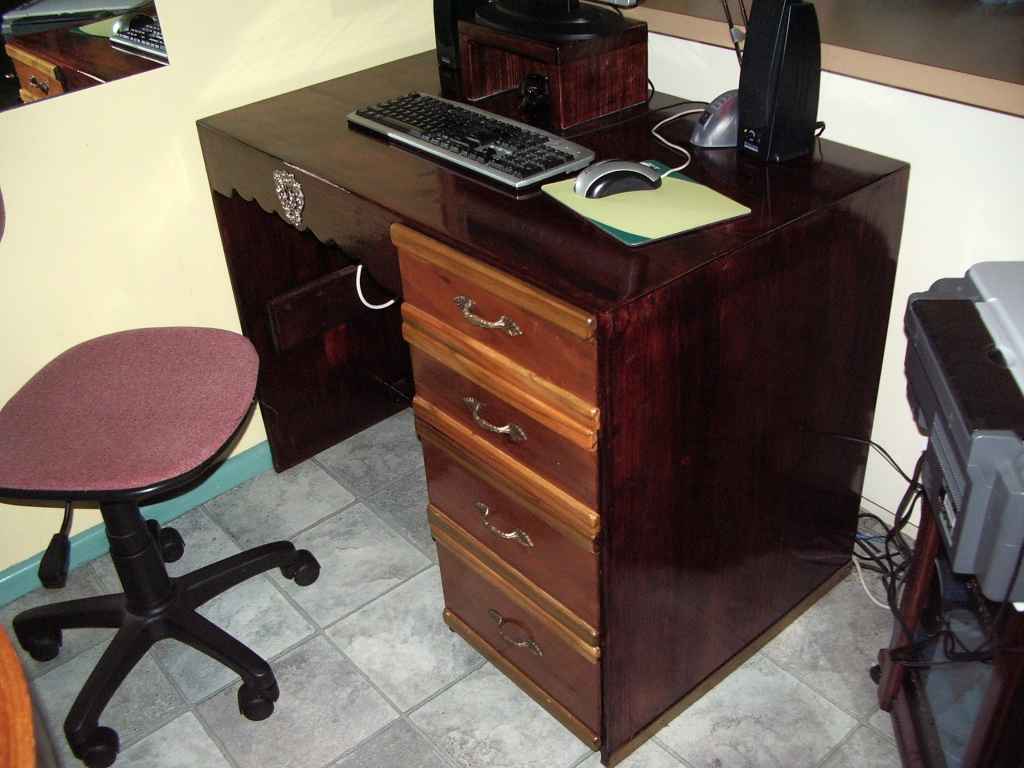 |
| The Tree Trunk coffee and occasional table | The Escritoire a rescue and resoration project, a ghost is exorcised | |
 |  | 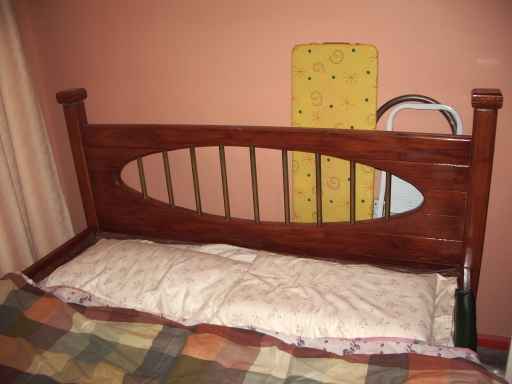 |
| assorted bookcases and shelves | The China Cabinet | The bed head |
 |  | blank |
| A practical coffee table made from ready to hand materials | a tool chest for small tools and accesories |
Home made tools for wood working
A jig saw guide.
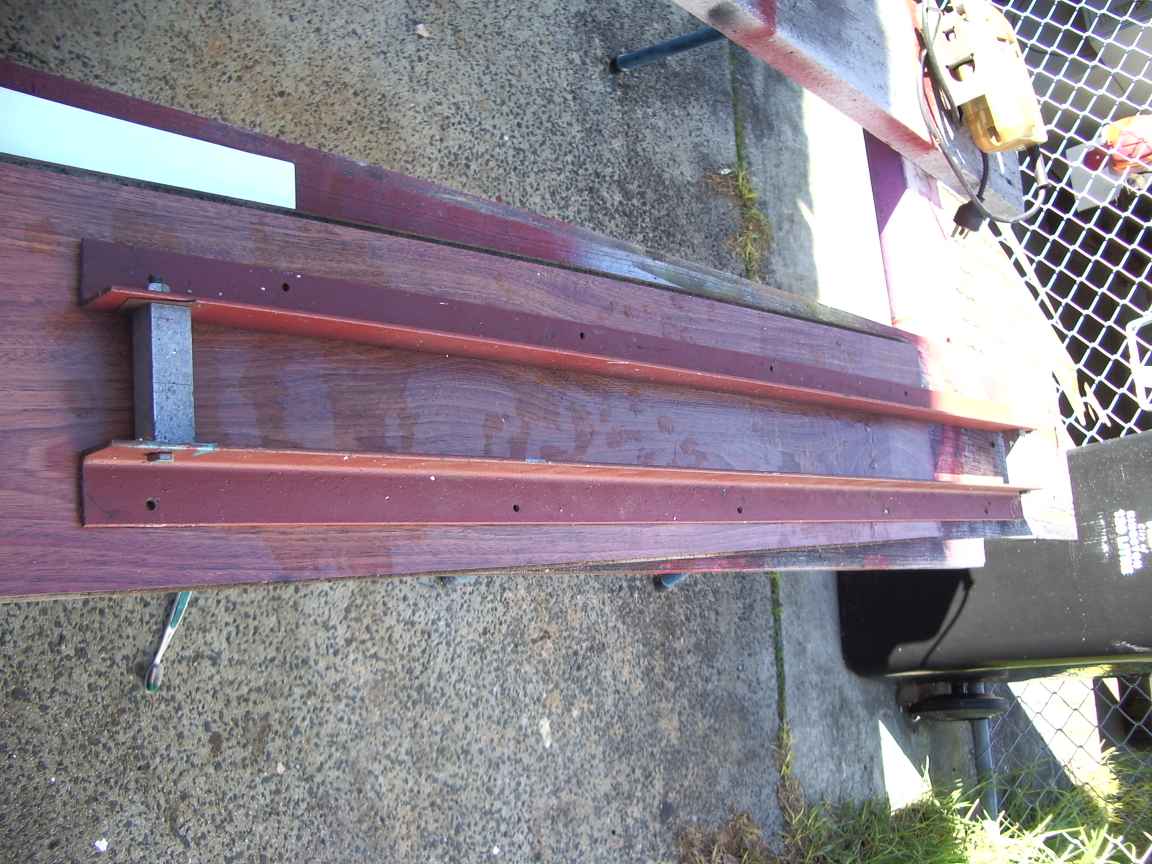
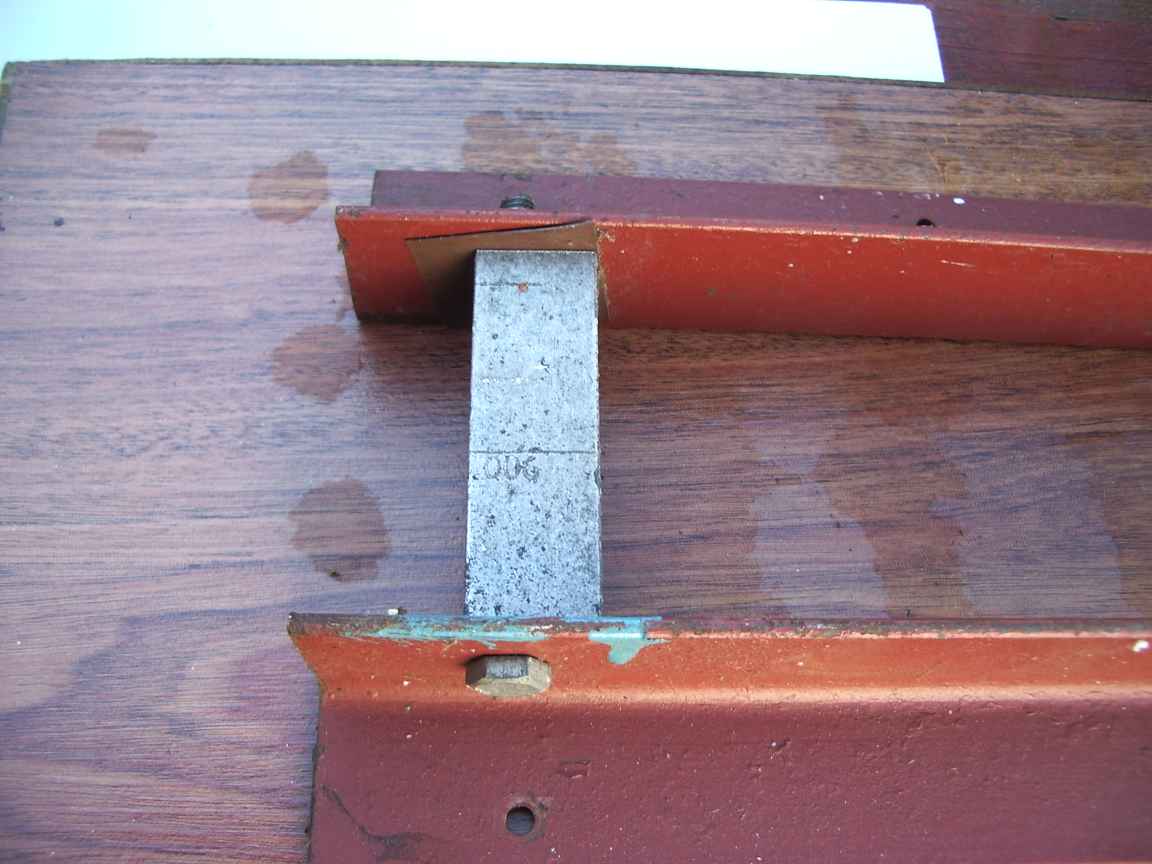
A jig saw is a very effective way of cutting thin plywood
sheets and thin sheet metal. Cutting straight lines is hard with a jig
saw, they were not designed to cut straight lines. This is a
clamp on cutting guide that permits perfect straight lines to be cut in
any material that can be cut with a jig saw. The spacer should be cut just a little below the width of the sole plate to permit the clearance to be adjusted with shim stock.
 |  | 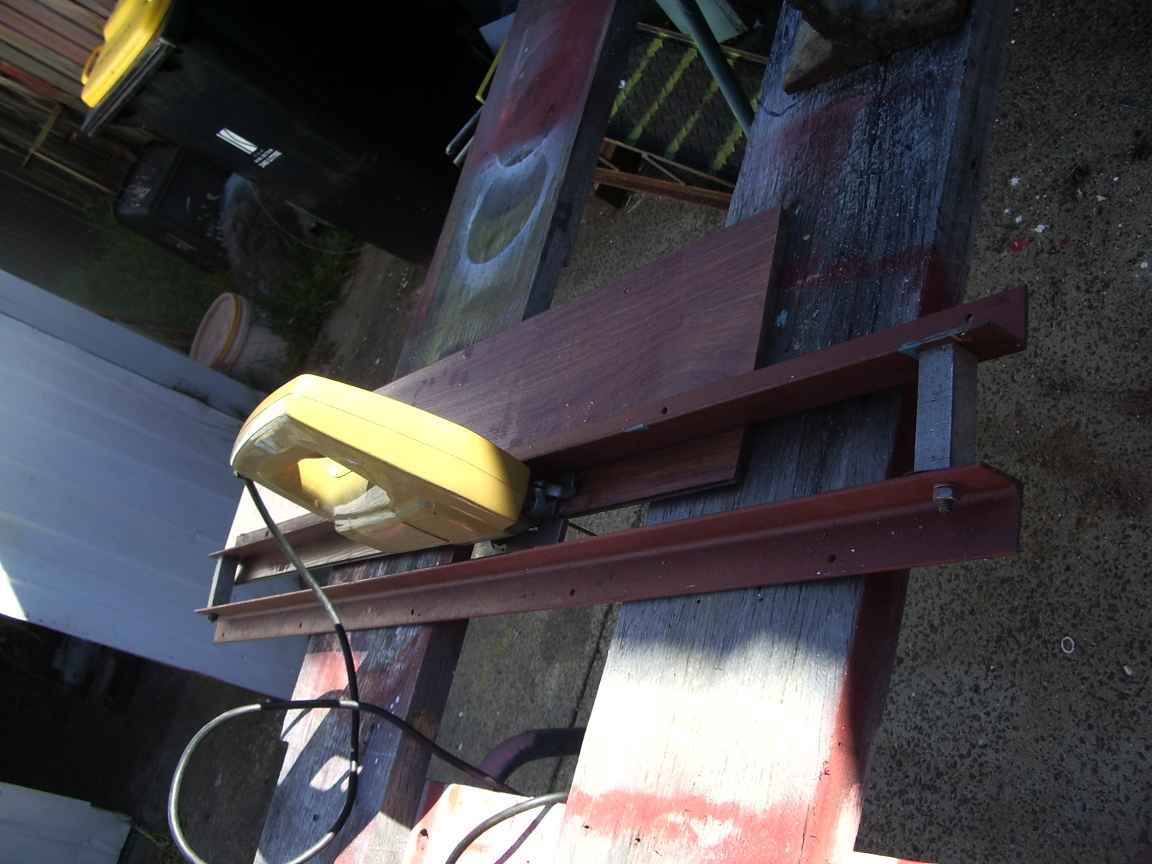 |
now improved. the sole plate now moves suspended over the work piece with light angle stock. The work piece is now not scratched by the saw's sole plate abrasions. It would help if compressed air blew away cuttings as they were created. Another day perhaps.
A router guide
For cutting arbitary sized slots in large boards or sheets
The small quarter inch hand hand routers are not really suitable for use with the Triton. There is simply too little of the router knife showing. This guide is really designed for the routing of slots in boards and heavy sheets. It is a set of adjustable parallel guides to permit the routing of slots of any size. This is to help cope with the situation of not having a rebate bit of the right size. One can select the router knife that gives the best result forthe material at hand.
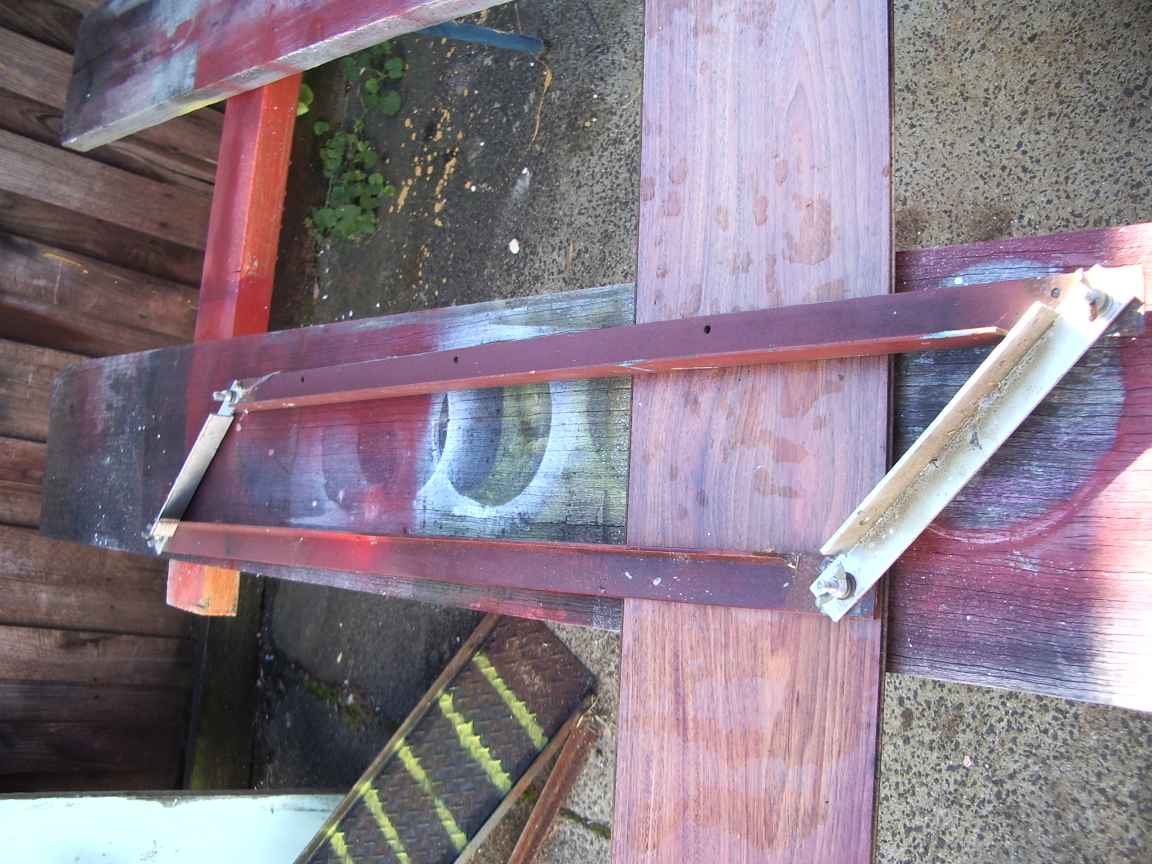 | 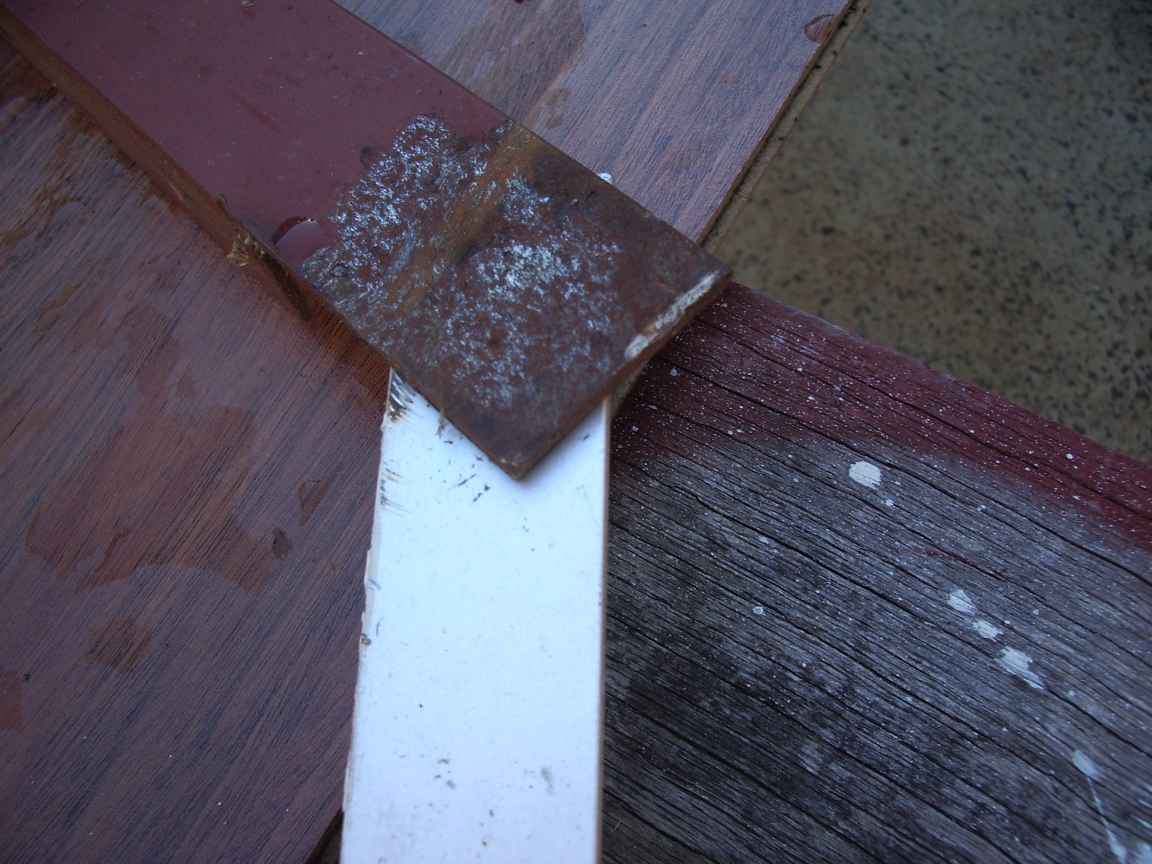 | 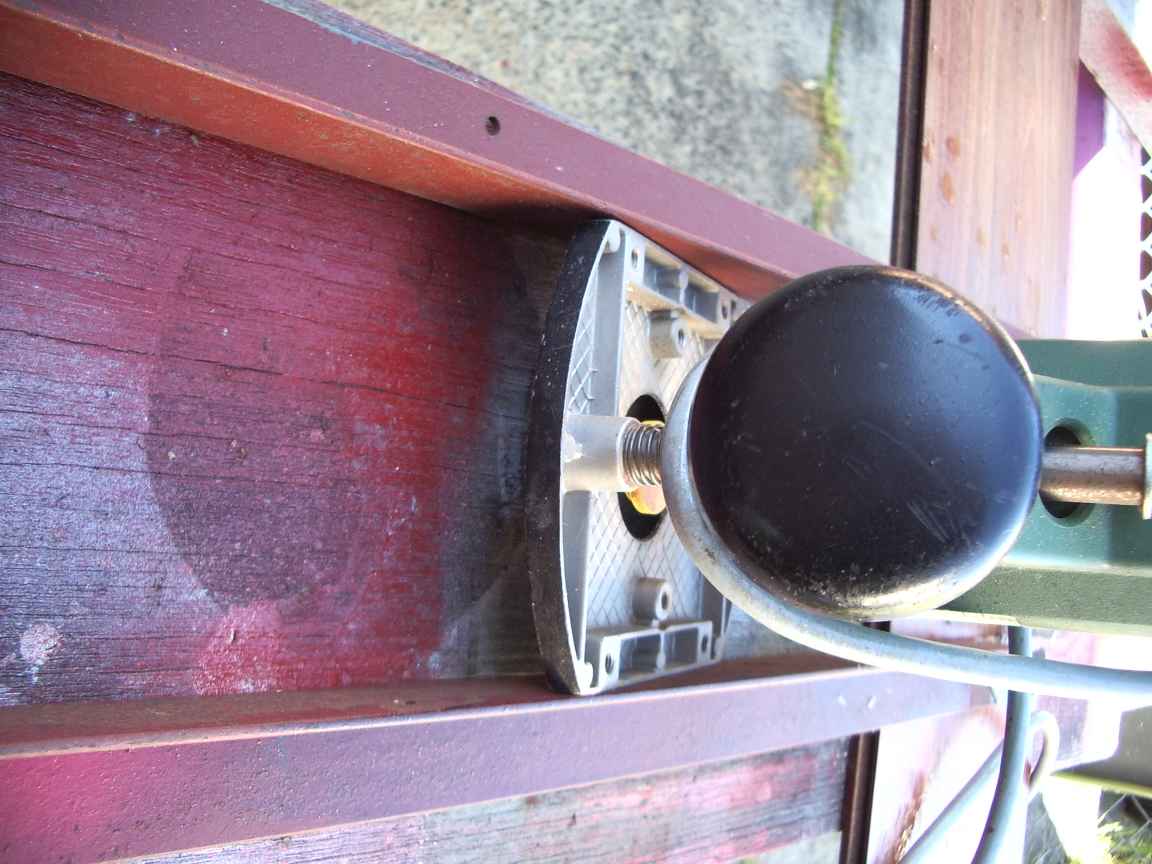 | 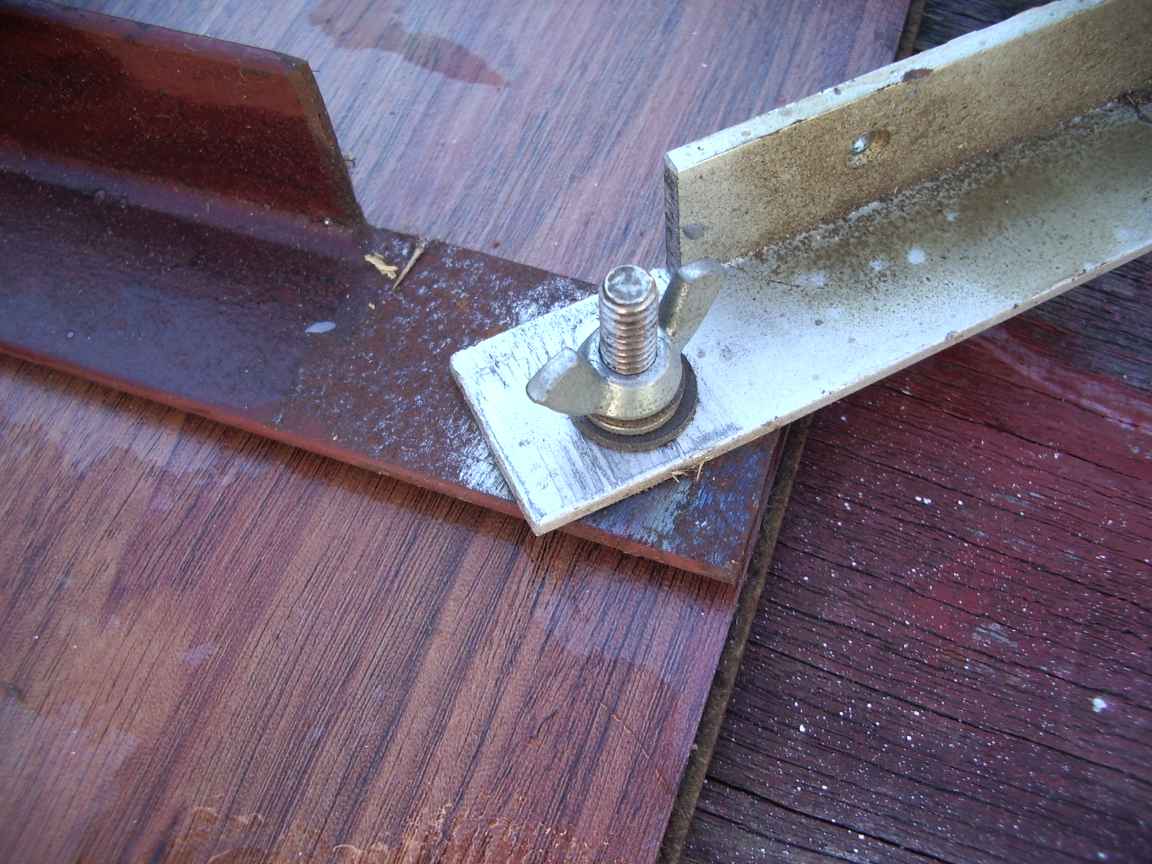 |
| variable parallelogram guide fence | wing nuts' bolts, welded flush | this is the only way to route long trenches | shape is secured with wing nuts |
screw bolts have been welded to the angle stock and ground flush. The parallelogram is measured and then secured with wing nuts. You only need to calibrate the positioning and opening for each particular router knife.
A roller stand for the Triton work centre
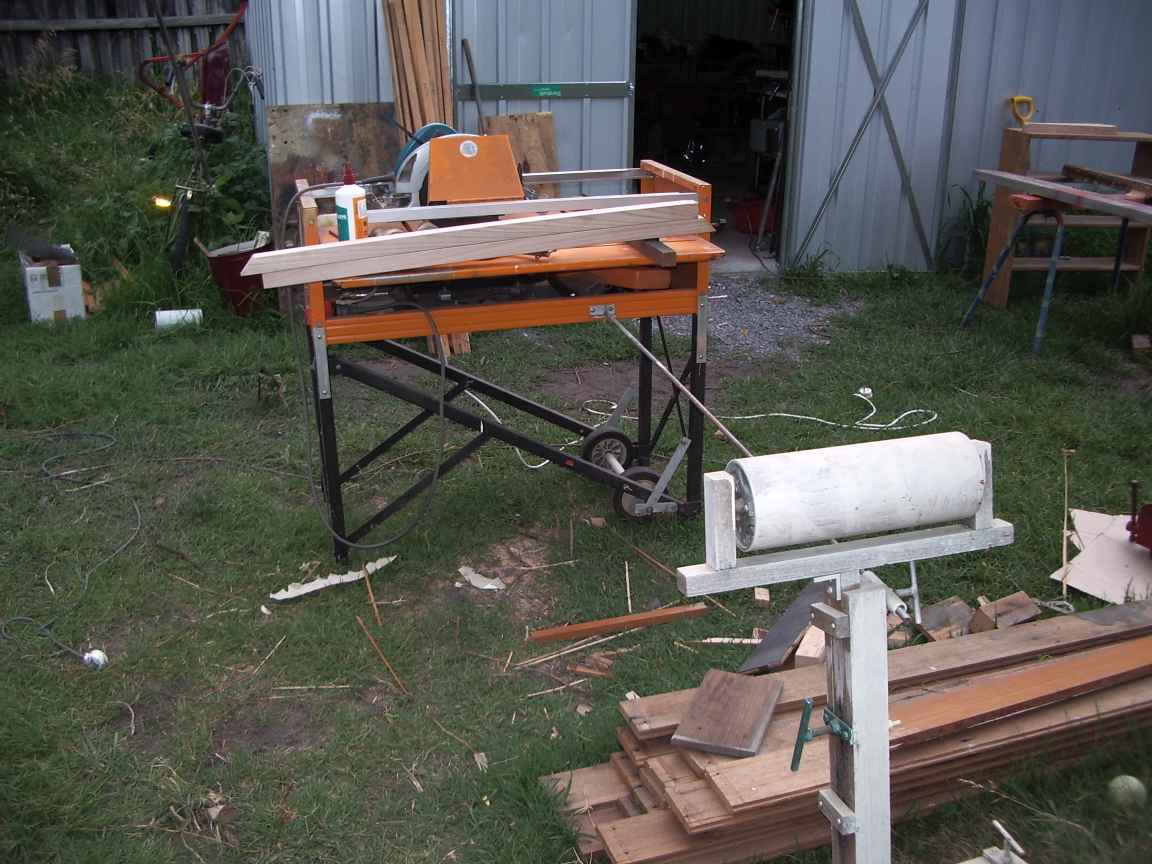
A roller stand is essential accesory for ripping long feed stock and for cross cutting long stock. It should allways have been part of the complete package, but you can now get roller stands for a few dollars at the two dollar shonky shops. My roller stand was biult long before cheap-n-nasty roller stands were commonly available. This roller is actually a photosensitive drum from a long dead photocopier. I found the drum in a skip and it came complete with a pair of precision bearings. The bearing housings were machined out of solid wood with a router. The welded screw jacks are artifacts made with the welder-o-doom. It has proven to be completely practical, the use of scew jacks for the feet permit it to be used on uneven surfaces. A steel rod and screw jack serves to hold the roller stand stable in relation to the workcentre. Anchor points are provided on all 4 sides of the workcentre. Scew jacks for the foot of the roller are essential. It is otherwise impossible to make the roller parallel with the bed of the Triton.
I dont recommend trying to replicate this design, the cheap roller stand will do. It will require one modification however. The commercial roller stand is self supporting and this is unsafe when used with the workcentre. You must design and make some arrangement that holds the stand stationary with respect to the workcentre. The commercial stand does not come with adjustable srew jacks for the feet, so it must be used on totally flat surfaces.
 | 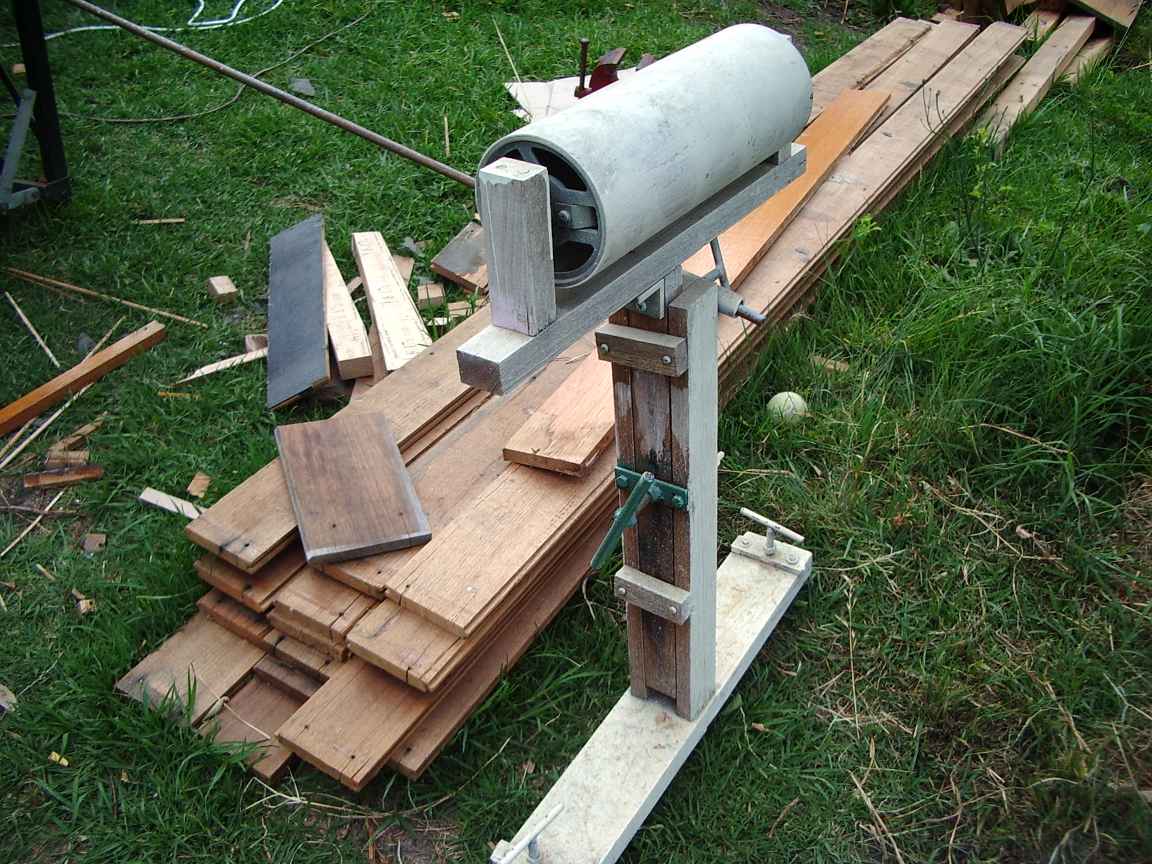 | 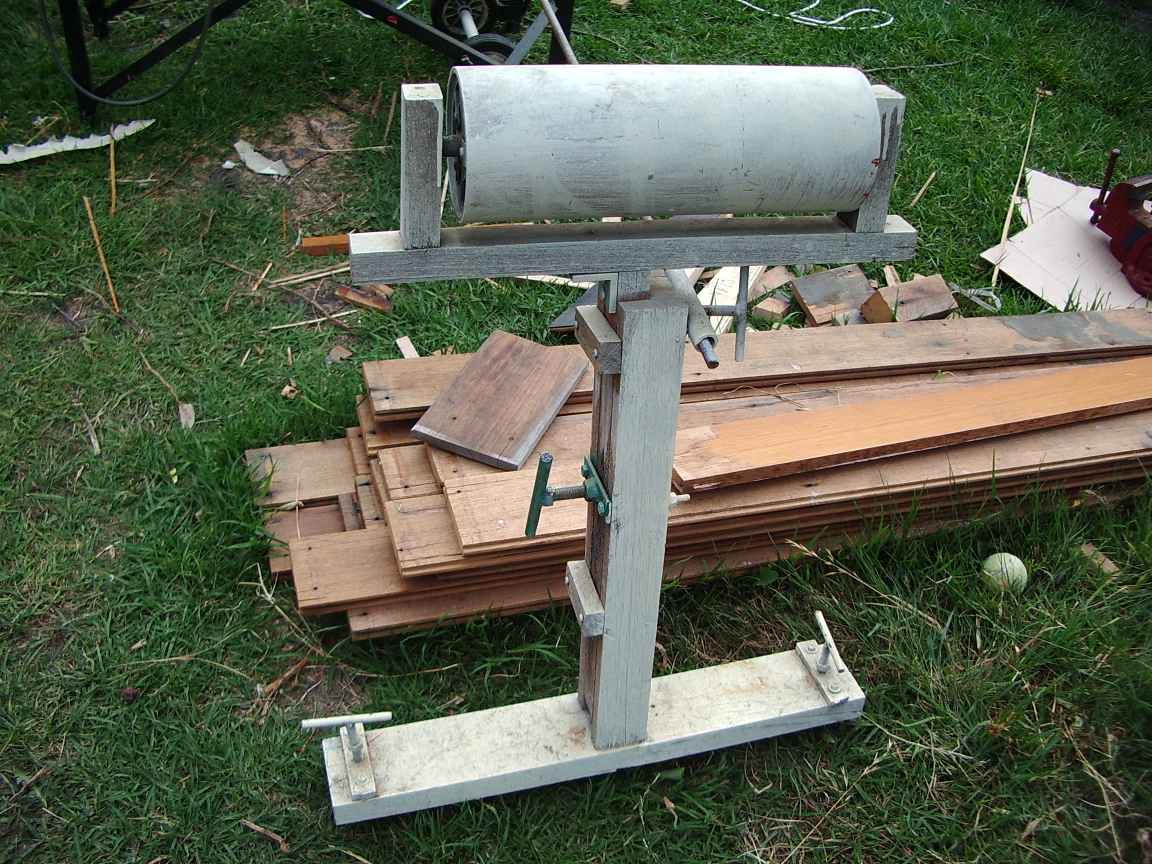 | 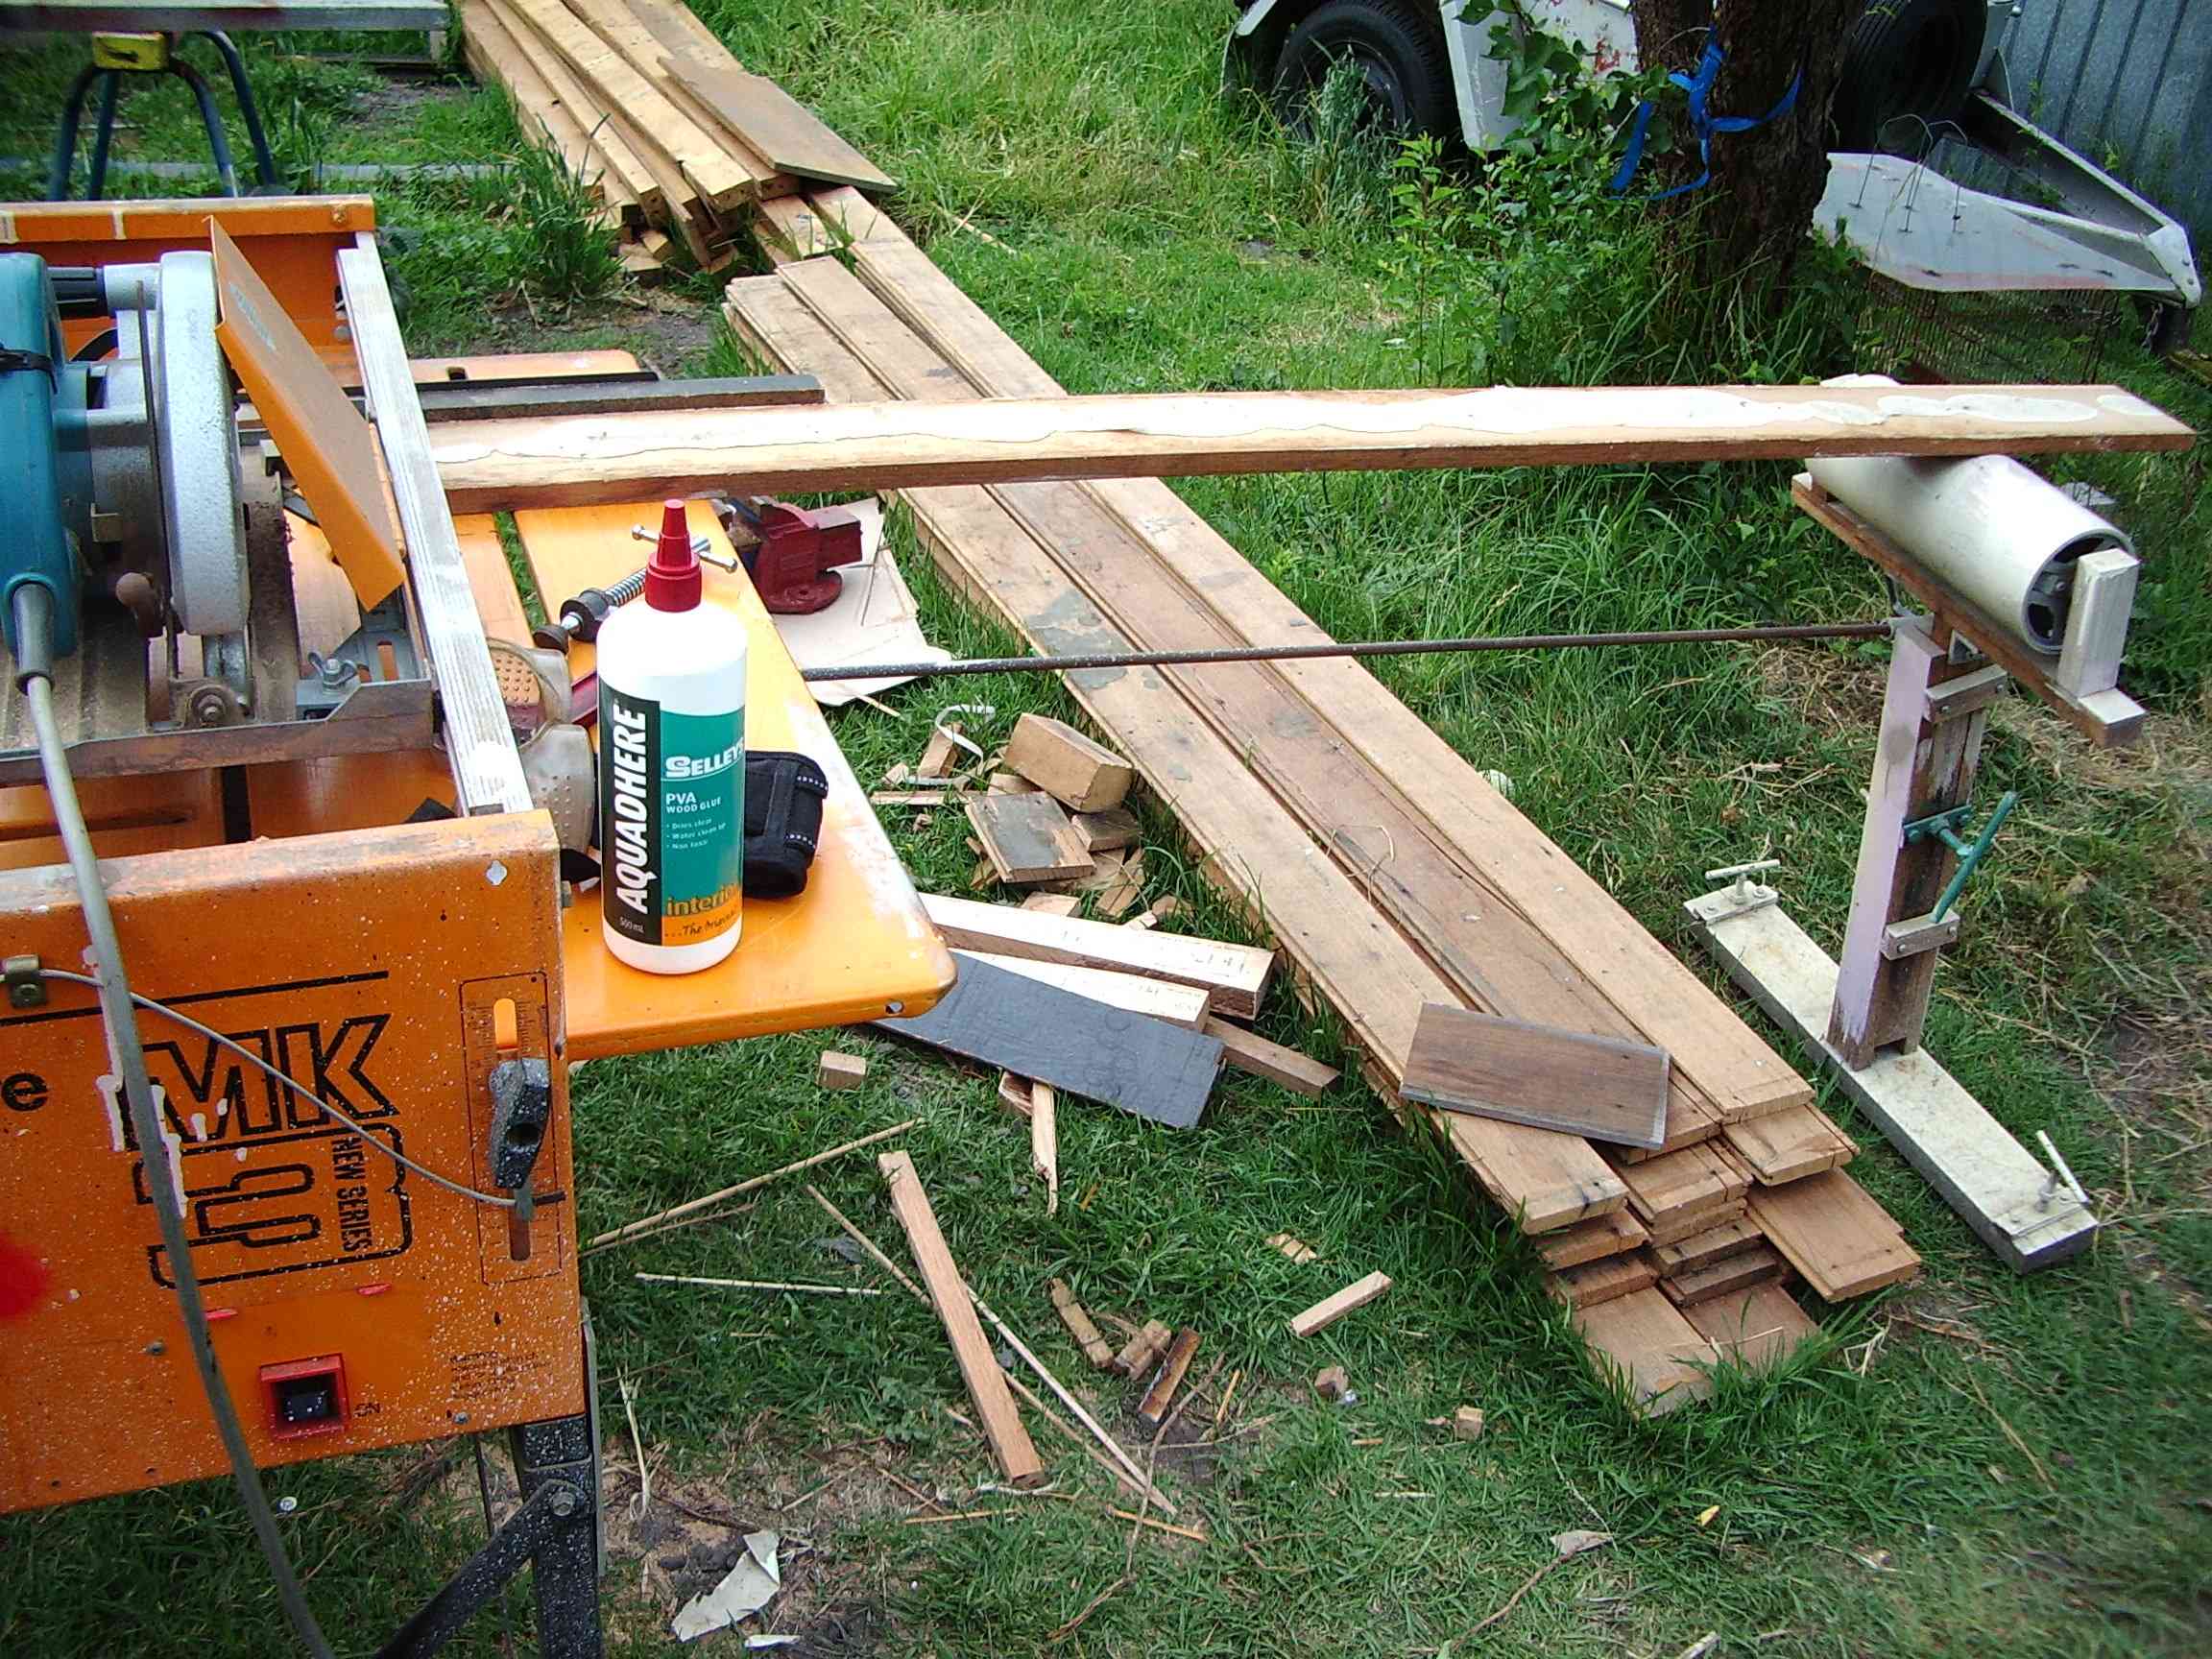 |
| steel rod and boss permit spacing and alignement to be exact | screw jacks on foot |

but wait...there's more
another day perhaps
mod record : updated and improved useability with tables Fri May 9 19:14:14 EST 2008;Fri Nov 20 19:58:59 EST 2009
homepage